Emily's Art Room: refurbished

Showing posts with label refurbished. Show all posts

From Entertainment Center to Drive-Through Restaurant

Tuesday, July 11, 2017
This post contains affiliate links for your convenience, for which I do receive commissions if a purchase is made, but at no cost to you.

We finally finished another furniture makeover project that we actually started a few years ago! Since  we started it a few years ago, I don't have a very good "before" picture, but this was an old entertainment center that I had before I was married. I was inspired by this post: Before & After: Turn an Old Cabinet into a Kid's Play Kitchen from ehow.com. A few years ago when my son was 3, he would have loved a play kitchen, but it never happened. Now that he is 5, we decided to make it a drive through restaurant!


He loves McDonalds. When I  was pregnant, my husband and I said, "Our kid won't be obsessed with McDonalds . . . " famous last words. I don't what it is about that place. It's not like we go on a regular basis, but he gets SO excited about McDonalds! Is it the toy? Probably. So this old entertainment center became a drive through restaurant. He has one of those plasma cars that you can wiggle the handles and it moves without using your feet. They're pretty cool, so in our unfinished basement, he rides it around. That seemed perfect for a drive-through restaurant! In the picture you can see him driving up to the drive-through window in his plasma car!


This is how we refurbished this old entertainment center into a drive-through restaurant. We painted it using a spray gun (which is my new favorite way to paint! Check out this post: DIY Furniture Makeover), and we replaced the glass doors with doors made from dry-erase board and added these handles to make the refrigerator:


At Lowe's or Home Depot you can buy sheets of the dry erase board over in the section where you buy plywood. It's inexpensive, sturdy, thin, and it is easy to cut. We also replaced the cheap cardboard back with dry erase board so we could write the menu with dry-erase markers. Of course my son wanted to make it look like McDonalds, so we made a big curvy yellow M for menu. (He came up with the prices!)

We used disposable aluminum burner liners as the stove, and we flipped the hinges on one of the doors on the bottom so it opens like an oven. A few years ago (when we started the play kitchen!), Target had the little hotdog and french fry holders in the dollar bin. They also had stuff like ketchup and mustard squeeze bottles and a menu pad, so that is all in his restaurant. He cut out and colored fries to go in the fry box, and he had play food that we added to the refrigerator. He had a friend over the other day, and they added toys to the meal too to make it a happy meal! 

Now we can check another project off the list! This one was more involved, but our little guy has fun making us food and driving up to the drive-through window in his car or big wheels! Have you done a furniture makeover like this before? I would love to see pictures!
2

DIY Furniture Makeover

Sunday, June 11, 2017
This post contains affiliate links for your convenience, but at no cost to you.

I'm pretty excited about something new I've decided to try in my art room! I've seen such cool furniture makeovers on Pinterest, and I've seen some amazing furniture makeovers from my friend Jenna from At Home with Kids. Now I'm finally giving it a try for myself! 

I started with an old night stand that my husband had as a kid. As you can see, he didn't take great care of it. We thought it was real wood, which is why it stayed with us through the years, but it isn't. Oops! I decided it was the perfect piece of furniture to use as my first project. If I messed it up, no big deal! 

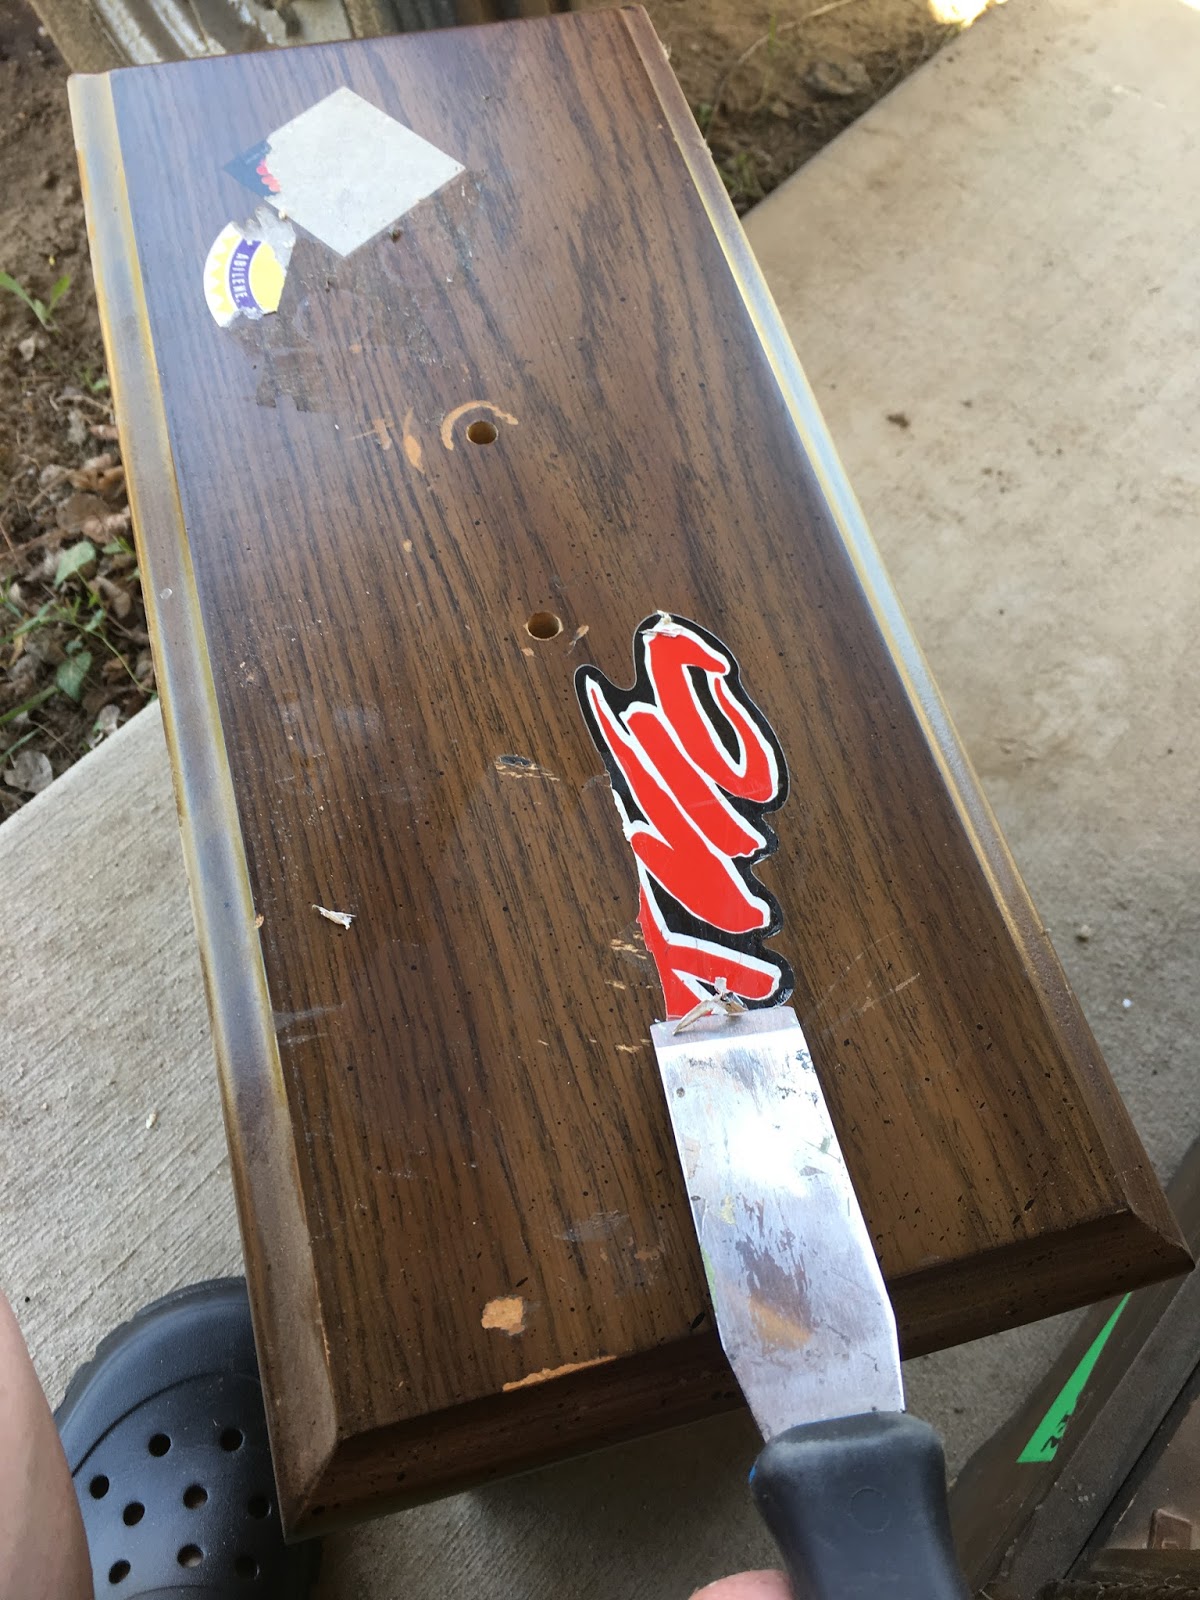
First, we took out the drawers and knocked out the little divider for the drawer. I knew I wanted it to be open so I could put a basket or crate in the bottom. I scraped off all of the stickers and wiped it down with Savogran 10632 Liquid TSP Substitute Cleaner. It is specifically for cleaning wood before painting it. 


To be honest, I don't like painting with a paintbrush or roller. In fact, I kind of hate it. There's nothing particularly creative about it, and the results are disappointing. At least for me. Probably because I'm not very good at it. BUT . . . we got a paint sprayer, and that has changed everything! It hooks up to my husband's air compressor, and the results are awesome! I don't mind painting when it looks so good in the end! There are no streaks, and it's very professional looking. I don't know very much about the different kinds of paint sprayers out there, but the one below is the one we have. It works well, but the spray isn't very big. For bigger projects it takes a long time to paint with such a small paint stream, but it still does the job. 


After I painted the night stand, the inside was just exposed wood. My husband used a sheet of whiteboard, which is strong but thin, and cut the sides, back, and bottom to fit inside the night stand. I covered it with Chevron Aqua Pop contact paper, and we secured it with a brad gun. 

It's definitely not perfect. If you look at it up close, you will be able to see where the stickers peeled off the laminate and the mistakes I made in my first project, but I'm still pretty excited about how it turned out! As long as you don't look at it too closely, it looks pretty good, and it's a great place to store my son's crayons, markers, and coloring books!

Have you done any furniture makeovers? I'd love to hear about your projects as I learn more! And be sure to check back for more refurbished projects I'm working on this summer!

1
Powered by Blogger.