Emily's Art Room: Let it Snow

Showing posts with label Let it Snow. Show all posts

Let it Snow: Snowman Kit

Saturday, January 27, 2018

With help from Marilyn at Fork in the Road Concepts and this blog post from Whimsy-Love, DIY: Build Your Own Snowman Kit, we made my son his own snowman kit for Christmas. We've been waiting for snow that wasn't too powdery so we could build a snowman, and it finally came!


The Snowman Kit was easy to make, and so much fun to use! We'll be able to use it over and over. The hat and nose are made out of felt (directions for making them are linked above), the scarf is fleece, which means it doesn't require any sewing, and the eyes and mouth are beads from an old necklace that we hot glued onto skewer sticks. I added some crochet holly berries to the hat based on a modified version of this pattern, Jolly Holly, from Attic 24. The leaves in this pattern were quite large, and the pattern uses UK terms, which is a little confusing if you use US crochet terms. Here is the pattern I modified for smaller holly leaves:

Holly Leaf & Berry Pattern
Size F Hook
100% cotton, green & red
CH= chain
ST= stitch
SL ST= slip stitch
SC= single crochet
HDC= half double crochet
DC= double crochet

Holly Leaves (make 2)

With green, CH 7.

Round 1:
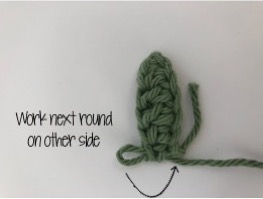
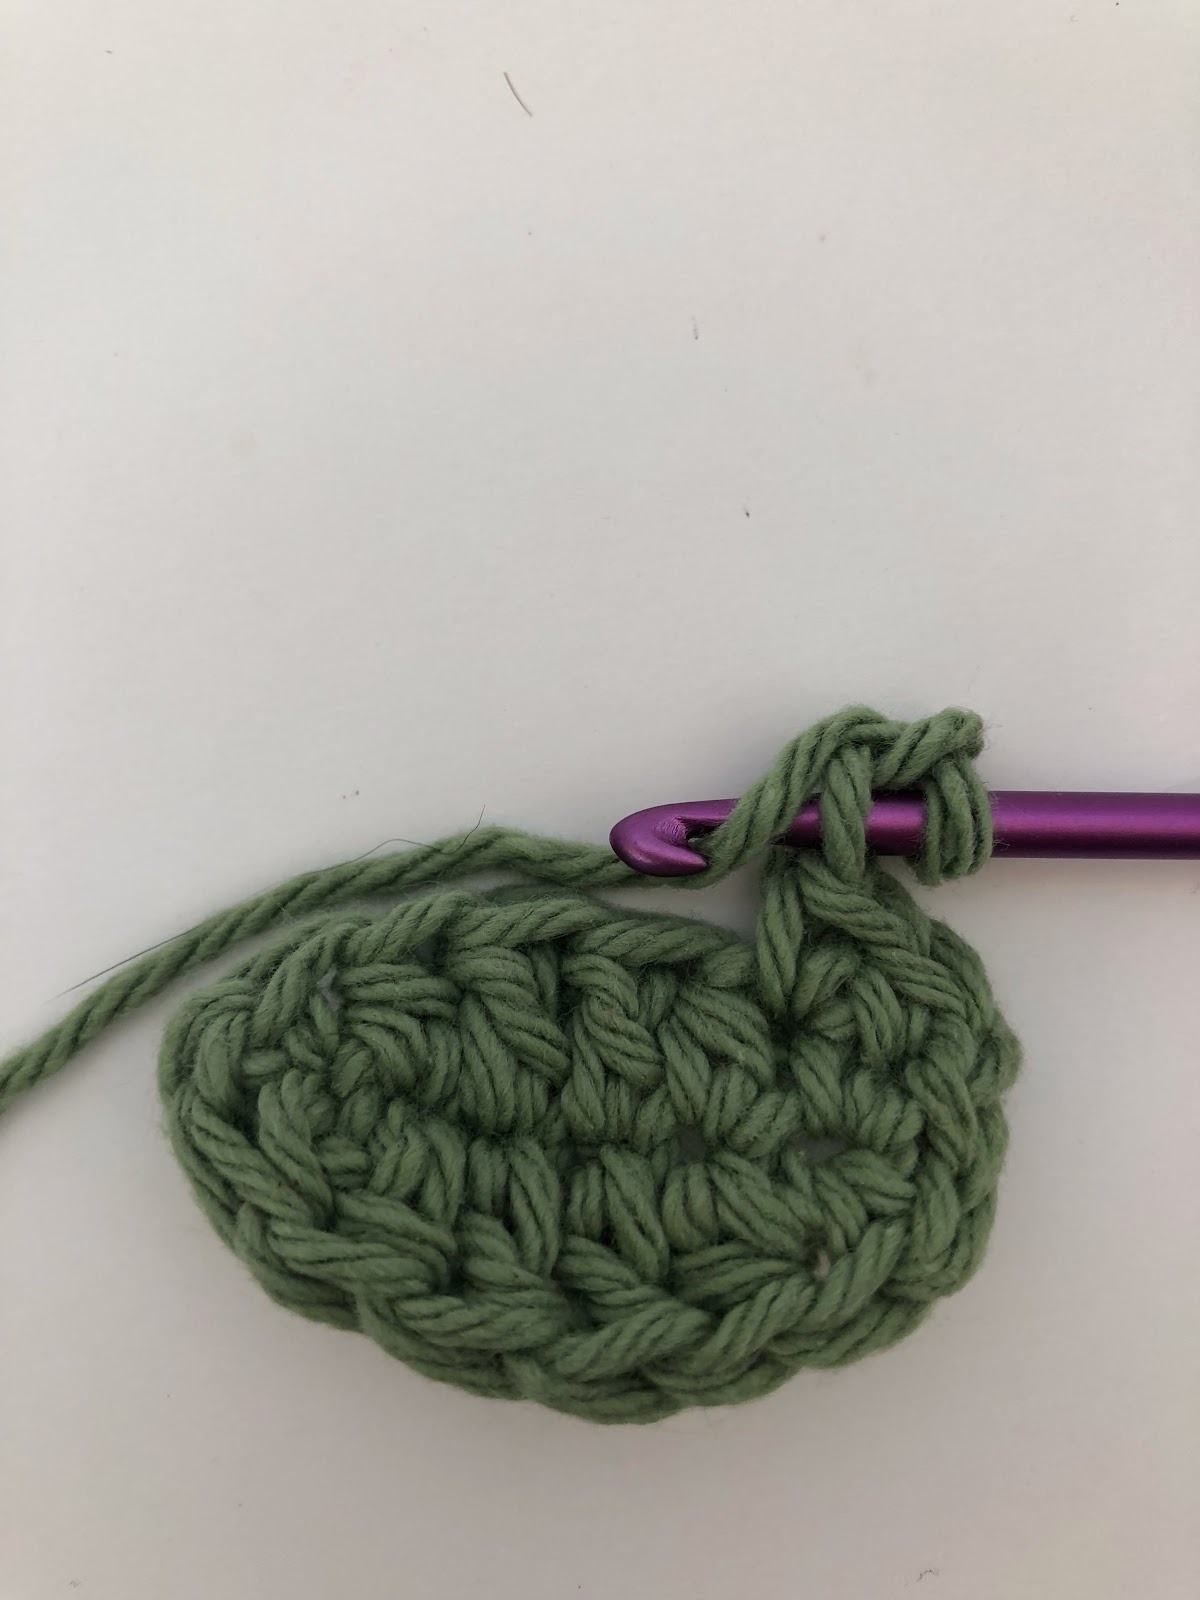
SC in 2nd chain from hook. HDC, DC, DC, HDC, SC. This is the end of the row. (6)

Round 2:
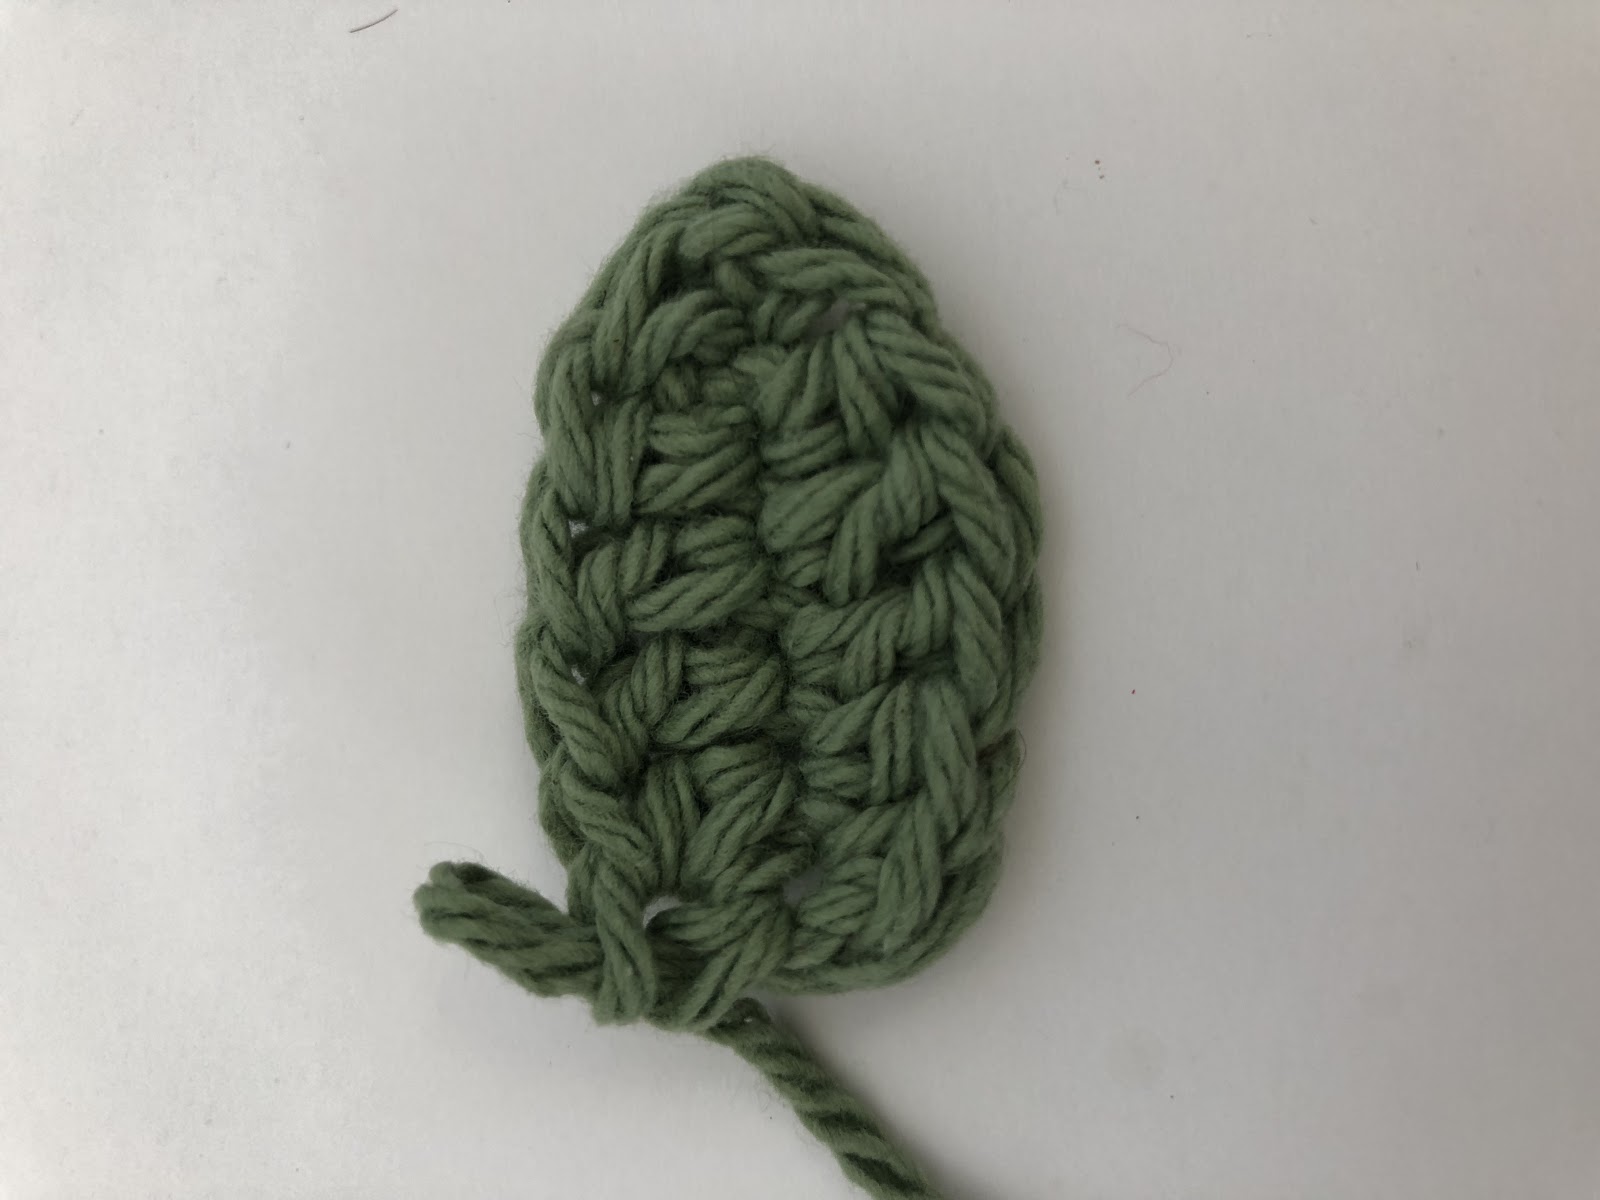
CH 1, and working on the other side of the leaf, SC in first CH. HDC, DC, DC, HDC, SC. (6)
SL ST to the other side of the leaf. You will continue to work all the way around the leaf.

Round 3:

(making the points on the holly leaves)
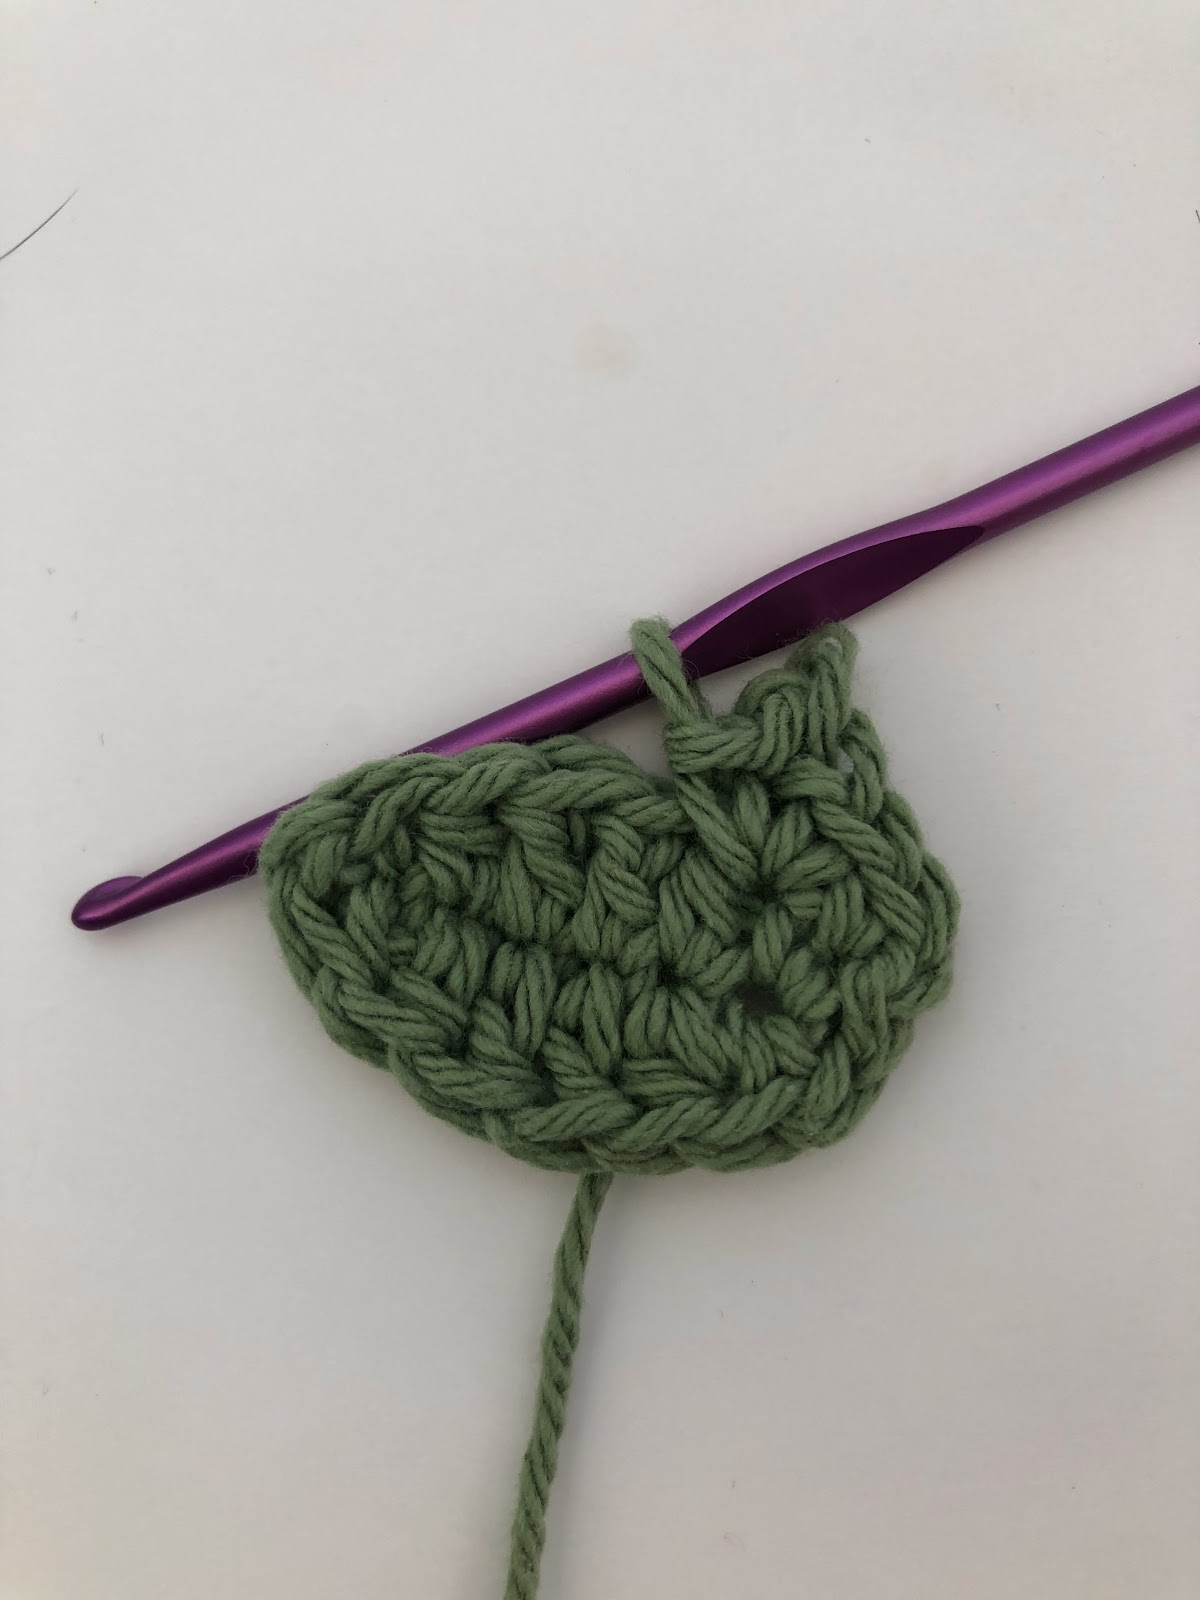

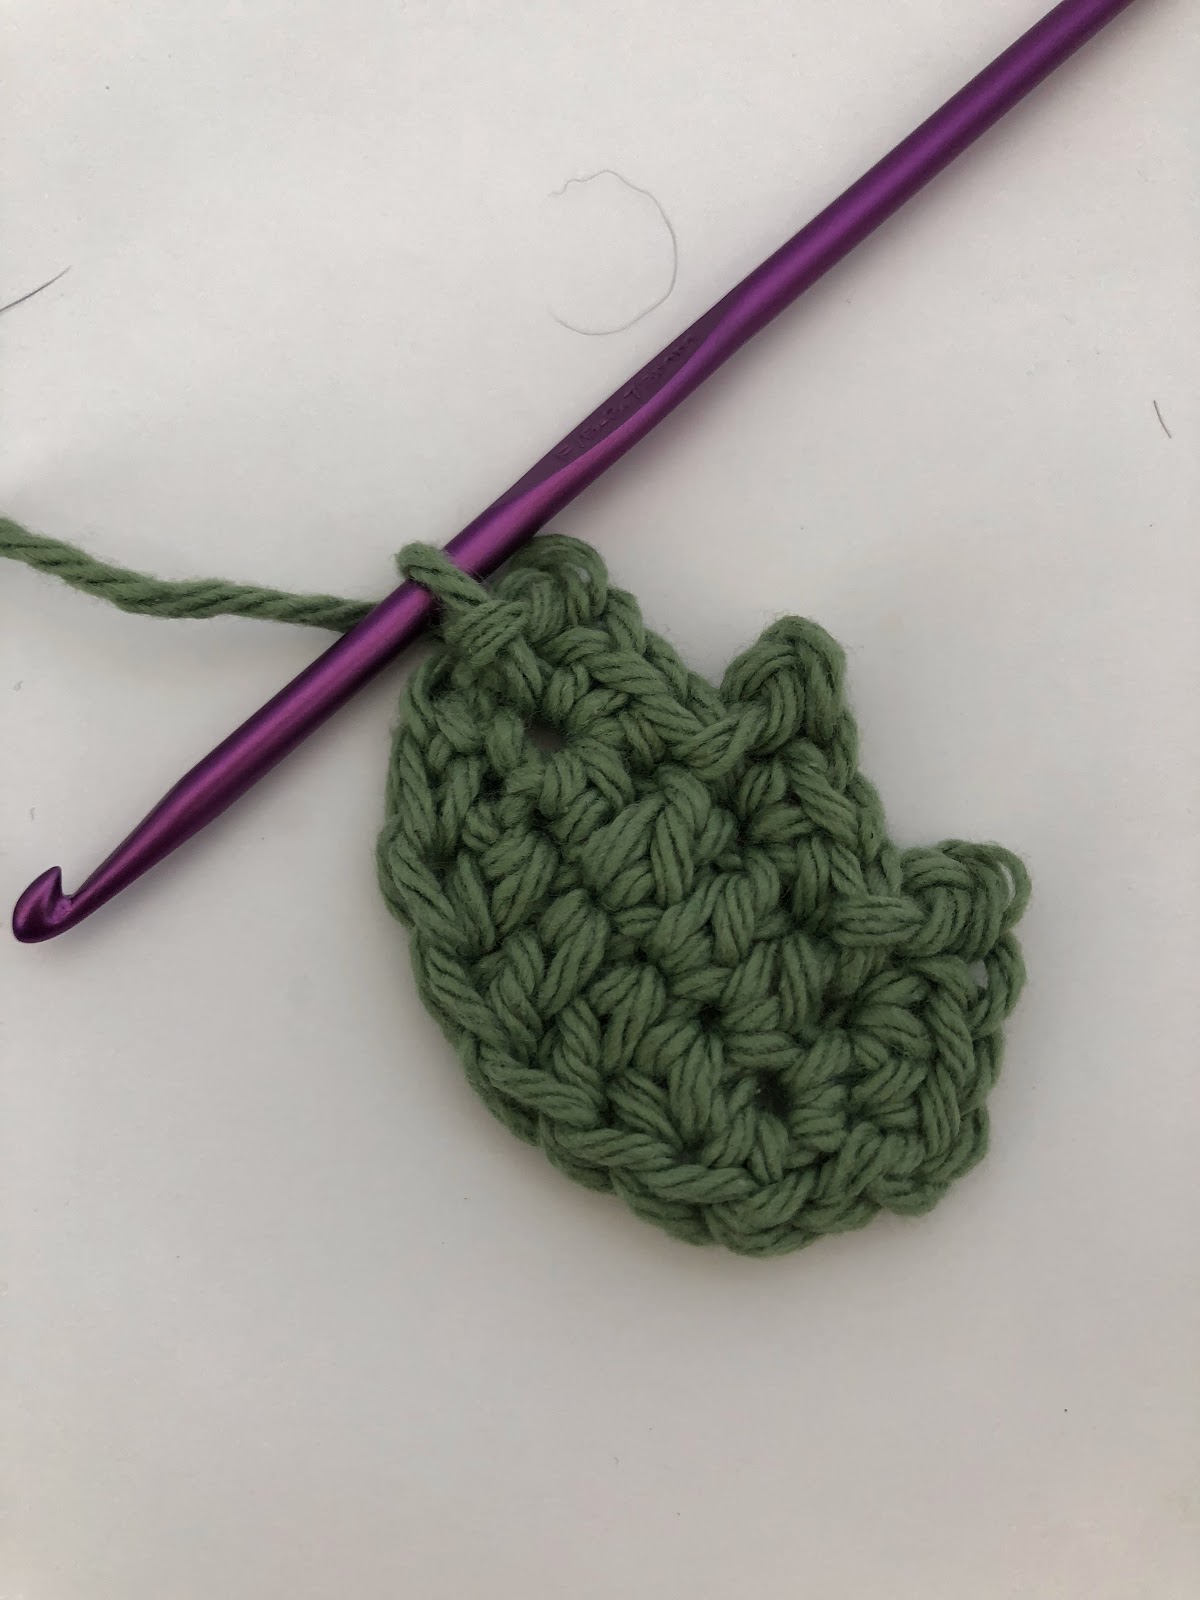
CH 1, *SC in 2 STs, CH 2. SL ST in 2nd CH from hook. SC back in the same ST as the 2nd SC.* This makes the first point on the holly leaf. Repeat from * to the top of the leaf. You should have 3 points on one side of your holly leaf.

Round 4:

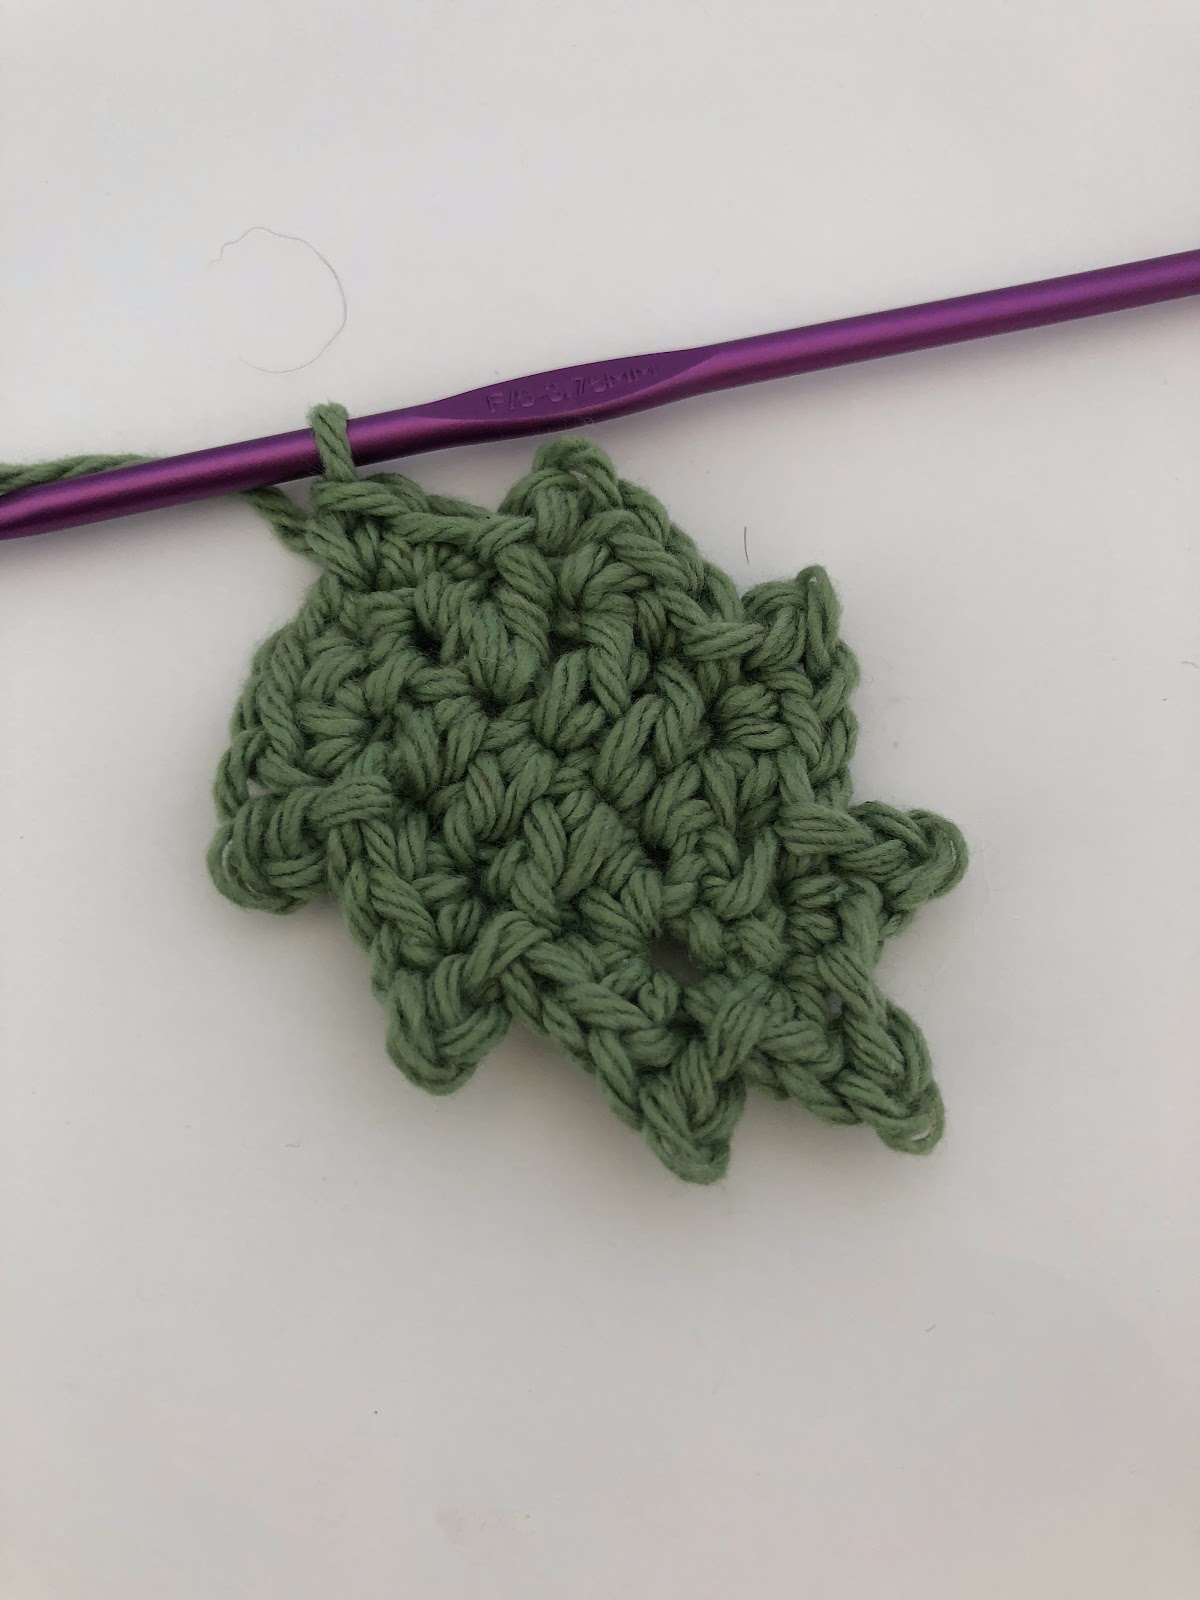
SC 1, (on top of the leaf) CH2. SL ST in 2nd CH from hook. SC back in the same ST as SC. Working on the other side of the leaf, *SC in 2 STs, CH 2. SL ST in 2nd CH from hook. SC back in the same ST as the 2nd SC.* Repeat from * to the bottom of the leaf. You should have 3 points on the other side of your holly leaf, and another on top.

Round 5:

.
SL ST to the bottom of the leaf. CH 4. SL ST in 2nd chain from hook and back to the first SL ST. Continue to SL ST down the center of the leaf to create a vein in the center of the leaf. Cut off and weave in the ends.
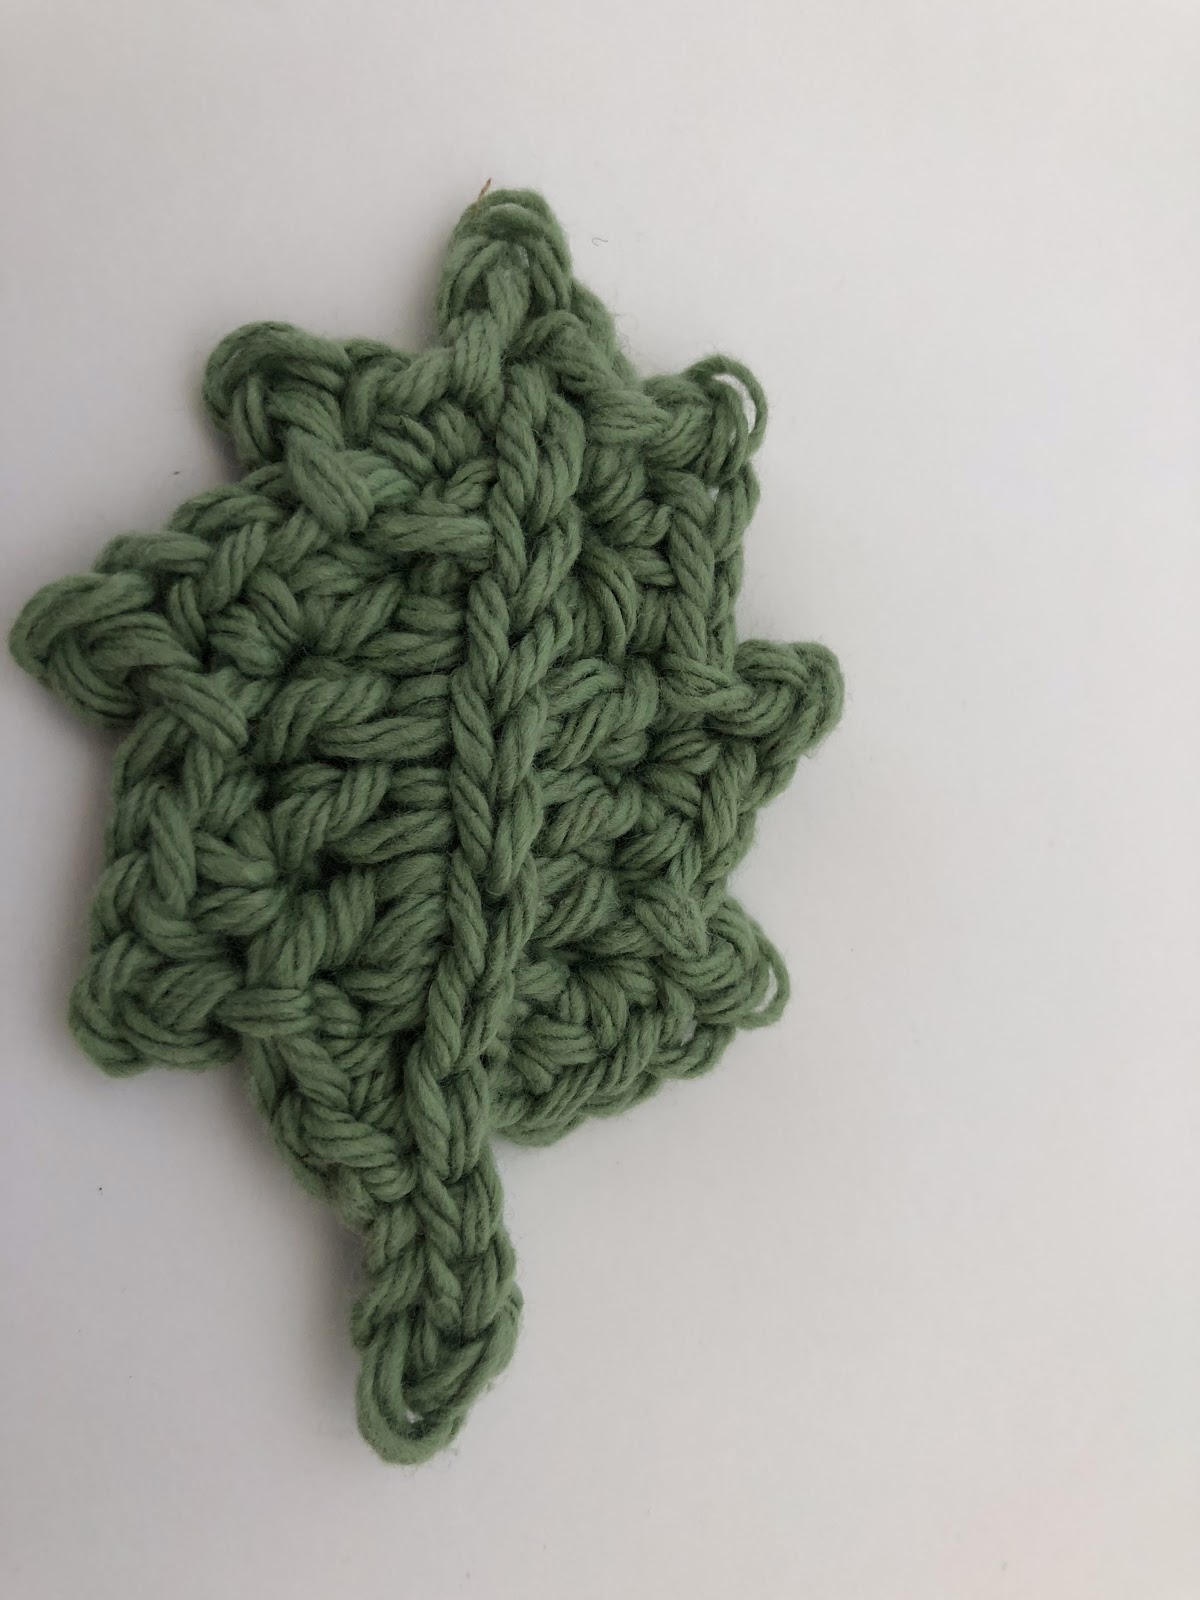
The berries can be made of felt or crocheted. This cute holly and berries are great embellishments for presents, on hats, and more, and the snowman kit makes a great stocking stuffer. Enjoy!


0

Let it Snow: THE Favorite blanket

Monday, January 15, 2018

In this second post of the “Let it Snow” series, I am going to share an easy-to-make blanket that I guarantee will become THE favorite blanket!


I have made this blanket in several different colors and styles, and everyone who uses it just loves it! Whether it’s given as a present or they use it while at our house, people will fight over who gets to use it! That is why I have made one for each person in our house.


It is SO warm and snuggly, and the big yarn works up pretty quickly, so it is now the only kind of blanket that I make. The secret behind this blanket is the yarn. You can use different colors and different pattern designs, but the yarn you need to make THE favorite blanket is Bernat Blanket Big Ball Yarn. The downside is that it is an expensive blanket at $10/skein. To make an adult lap blanket about 4ft. X 4.5ft., you will need roughly 4 1/2 skeins. You will always want to get the 10.5oz 220yd. ball of yarn. The smaller skeins just aren’t enough to make a blanket, so it ends up costing a lot more. You can find this yarn at Michaels or Joann’s, and a few times a year they will be on sale between $5 -$7/skein. I suggest stocking up during the sale!

To make the red and white chevron blanket, I used this pattern from The Crochet Crowd with a few adjustments. I increased the size for an adult lap blanket so it is 4ft. x 4.5ft, I added 2 rounds of a single crochet border all the way around the the blanket in red, and I added 4.5in. faux fur pom poms on the 4 corners of the blanket.


The picture above is a blanket from Pottery Barn. I loved the look of the faux fur pom poms, so I was inspired to add some to my blanket too using this tutorial from Crochet 365 Knit Too. The Pottery Barn blanket has pom poms around all the edges, but that doesn't seem very practical because it might get in the way when you're using it, so I just put them on the four corners. I'm pretty excited about how it turned out! 


With a snuggly blanket to keep you warm . . .  Let it Snow, Let it Snow, Let it Snow!


0

Let it Snow: Daddy & Son Matching Hats

Sunday, January 7, 2018

In this series of posts, Let it Snow, I'm going to share things to help keep you warm so you can have fun in the cold.
So . . . let it snow, let it snow, let it snow!


We've had some COLD weather lately, so I used this 'Michael Beanie' pattern from Ravelry to make hats for both daddy and son! Using Caron Tea Cakes that I found at Michaels, I used the color 'Lady Grey' to make these wool-blend hats. 

Because Caron Tea Cakes come in 5 variegated colors on one skien, I didn't have to change colors as I made these hats. It created these blocks of colors that made the hats similar using the same color scheme without making them exactly the same. 

The pattern for this hat comes in sizes premie and newborn, so I had to make some adjustments. Here's what you'll need to make your own daddy and son hats:
For the child-sized hat:
  • Follow the pattern for the newborn hat (not premie) with these changes:
  • Size J hook 
  • I used a magic circle in the beginning, and I made the hat longer. 
For the adult hat:
  • Follow the pattern for the newborn hat (not premie) with these changes:
  • Size J hook
  • Put 11 DC into the magic circle and make the hat longer. 
Finishing:
  • On BOTH hats, after the HDC round at the end of the pattern, I did a SC round in the 3rd loop of the HDC, then another SC round. 

I'm also really excited that I found this tutorial for How to Make a Fur Pom Pom by Crochet 365 Knit Too. It's so simple, and these faux fur pom poms look awesome! They are simple to make, and it's MUCH cheaper than buying faux fur pom poms. I just got a great deal at Joann's, so if you hurry, you can get it on sale too!


0
Powered by Blogger.