This post contains affiliate links for your convenience, but at no cost to you.
I'm pretty excited about something new I've decided to try in my art room! I've seen such cool furniture makeovers on Pinterest, and I've seen some amazing furniture makeovers from my friend Jenna from At Home with Kids. Now I'm finally giving it a try for myself!
I started with an old night stand that my husband had as a kid. As you can see, he didn't take great care of it. We thought it was real wood, which is why it stayed with us through the years, but it isn't. Oops! I decided it was the perfect piece of furniture to use as my first project. If I messed it up, no big deal!
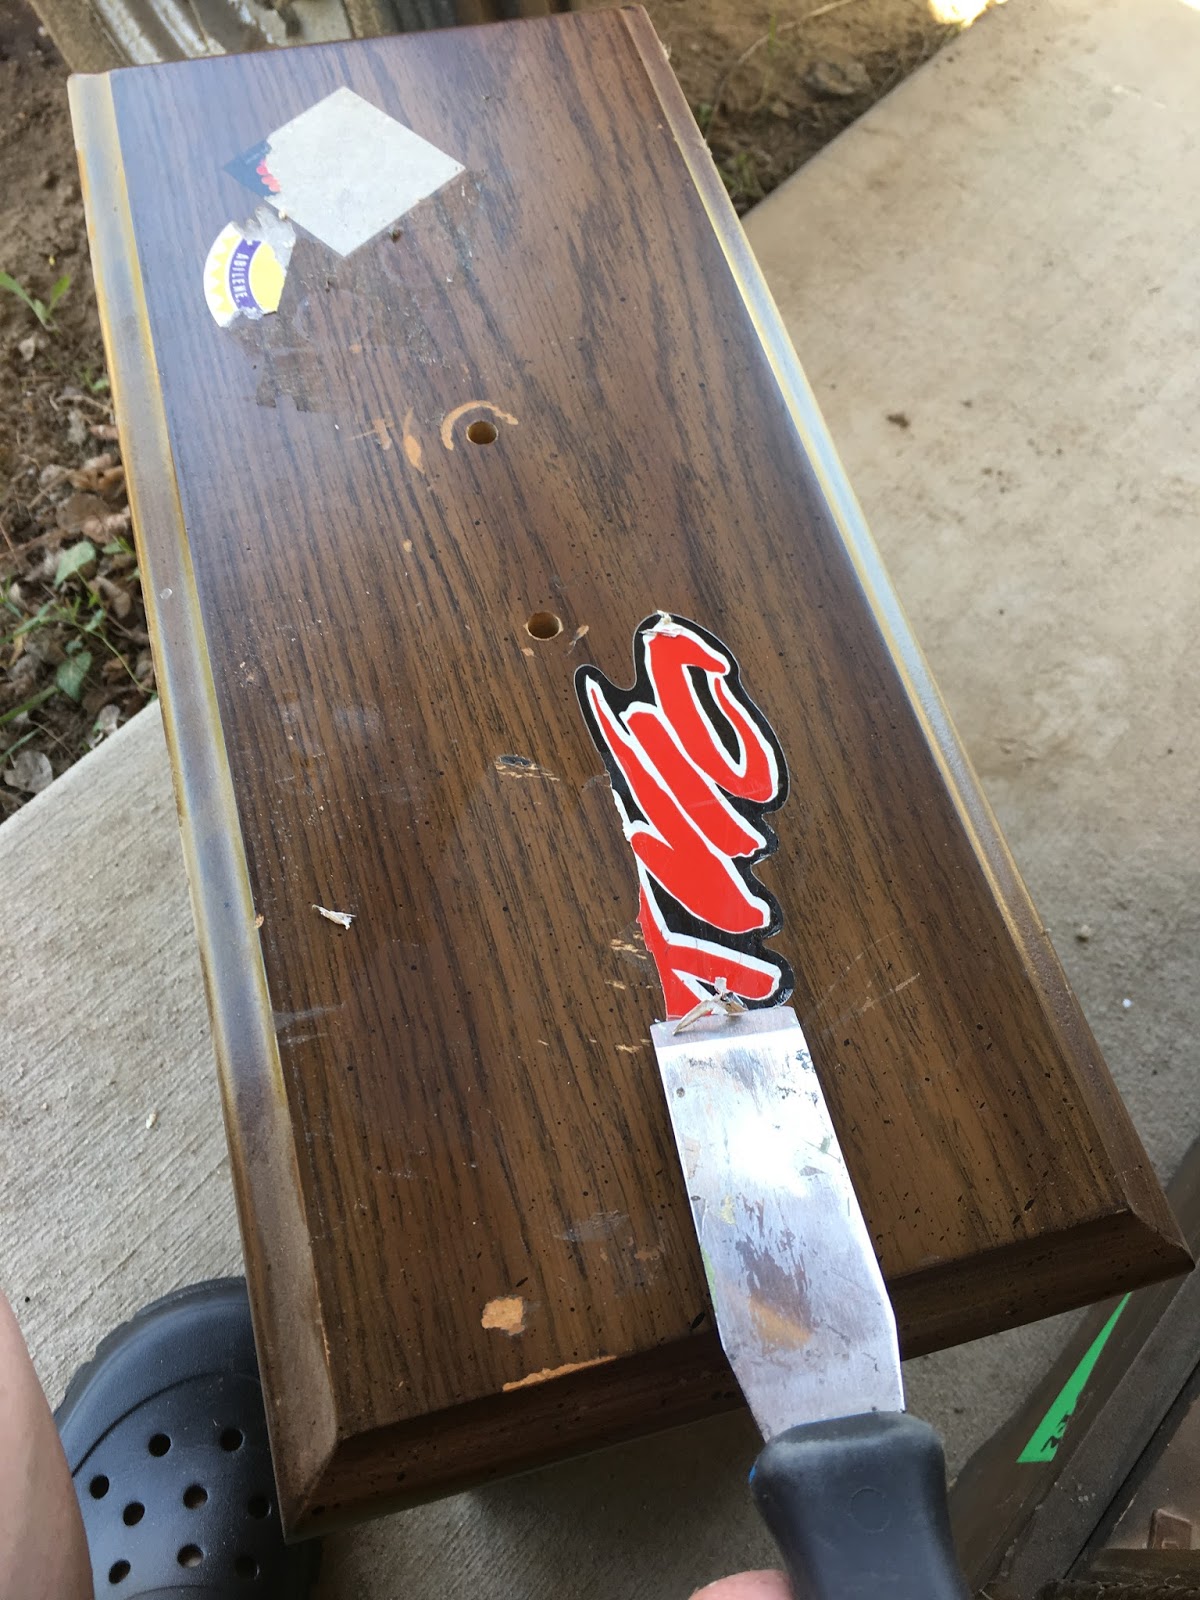

First, we took out the drawers and knocked out the little divider for the drawer. I knew I wanted it to be open so I could put a basket or crate in the bottom. I scraped off all of the stickers and wiped it down with Savogran 10632 Liquid TSP Substitute Cleaner. It is specifically for cleaning wood before painting it.
To be honest, I don't like painting with a paintbrush or roller. In fact, I kind of hate it. There's nothing particularly creative about it, and the results are disappointing. At least for me. Probably because I'm not very good at it. BUT . . . we got a paint sprayer, and that has changed everything! It hooks up to my husband's air compressor, and the results are awesome! I don't mind painting when it looks so good in the end! There are no streaks, and it's very professional looking. I don't know very much about the different kinds of paint sprayers out there, but the one below is the one we have. It works well, but the spray isn't very big. For bigger projects it takes a long time to paint with such a small paint stream, but it still does the job.
After I painted the night stand, the inside was just exposed wood. My husband used a sheet of whiteboard, which is strong but thin, and cut the sides, back, and bottom to fit inside the night stand. I covered it with Chevron Aqua Pop contact paper, and we secured it with a brad gun.
It's definitely not perfect. If you look at it up close, you will be able to see where the stickers peeled off the laminate and the mistakes I made in my first project, but I'm still pretty excited about how it turned out! As long as you don't look at it too closely, it looks pretty good, and it's a great place to store my son's crayons, markers, and coloring books!

Have you done any furniture makeovers? I'd love to hear about your projects as I learn more! And be sure to check back for more refurbished projects I'm working on this summer!